Please note this how-to guide is also useful for pathways and driveways too.
Tools:
- Wood Stakes
- Wide Blade Chisel
- 3 lb. Rubber Hammer
- Masons String (Twine)
- Stiff Bristled Broom
- Hard Tooth Garden Rake
- Plate Compactor
- Diamond Blade Masonry Saw
- Marking Paint
- 2 1” Diameter Sand Screed (1” PVC Pipe)
- 6’ long 2x4 or 2x6 Lumber
- A Line Level and 4’ Carpenter’s Level
- Trowel
- 25’ Measuring Tape
- Small Pry Bar
- Wheelbarrow
- Flat & Pointed Shovels
- Hose with Spray Nozzle
- Earplugs
- Gloves
- Safety Goggles
Materials:
- Concrete or Clay Pavers or Natural Stone Flagstone or Steppers
- Sand
- Class 5 Gravel
- Plastic or Aluminum Hardscape Edging
- 10” Timber Spikes
- Geotextile Fabric*
- Polymeric Sand*
- Sealant*
*optional
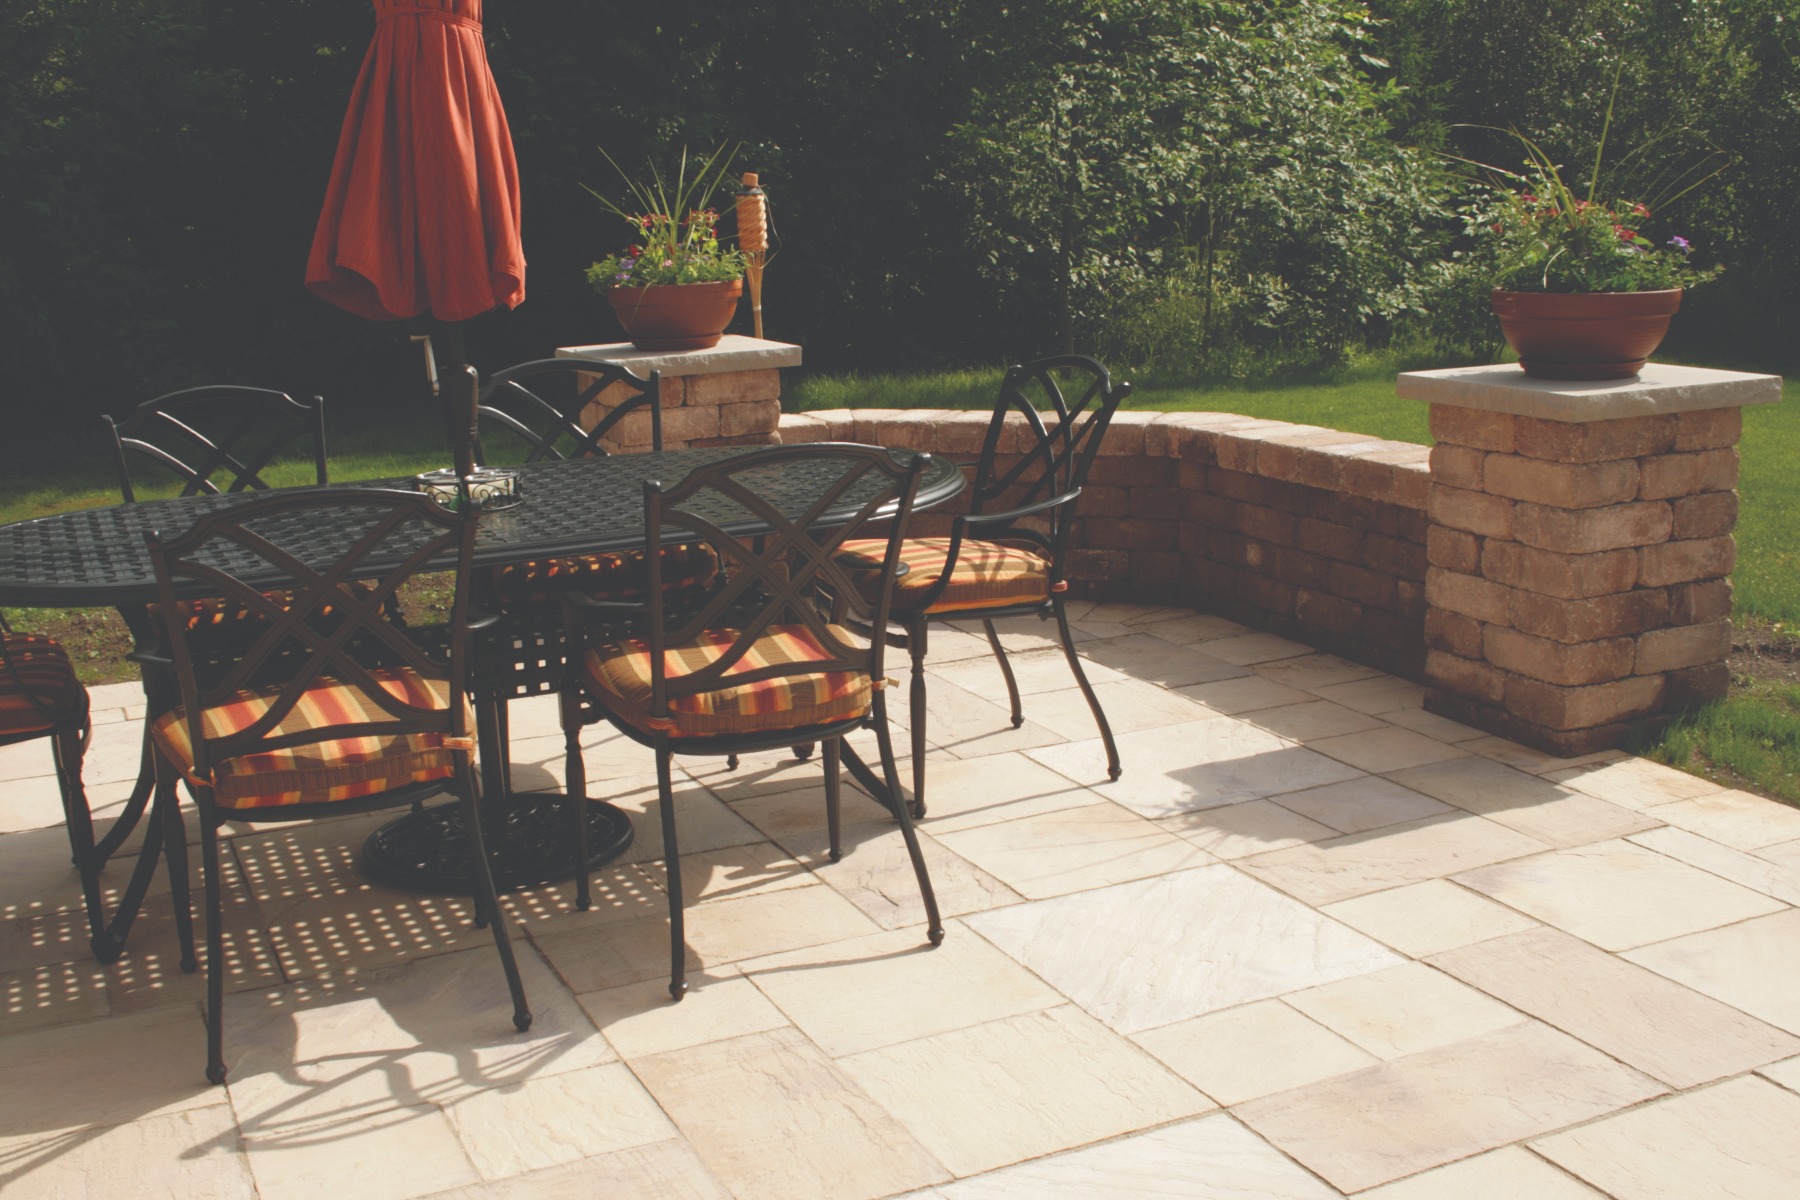
Determine the size and shape of your patio:
- Mark out the area with a garden hose.
- Place outdoor furniture to ensure the area is large enough for its intended use.
- Sketch your patio on a piece of graph paper showing all important dimensions and permanent structures to make calculating your materials a cinch later.
- Once you have your dimensions and shape drawn out stop in Gertens and we will calculate all the materials you will need for your project.
Gertens offers hardscape seminars taught by industry experts. Stop in or call our Landscape Projects Desk at 651-239-1315.
Determine the type of paving you would like to use:
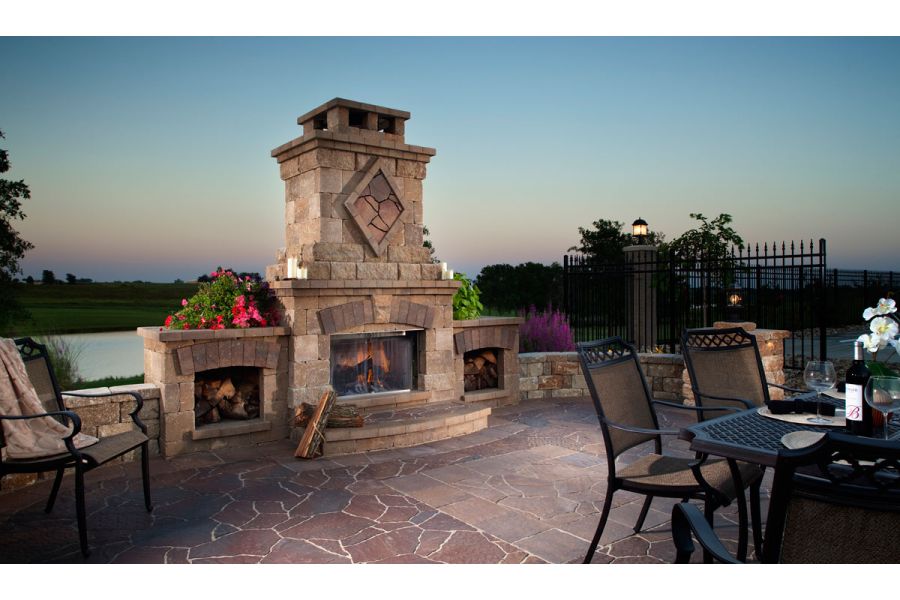
- Gertens has plenty of options of natural stone such as flagstone & steppers
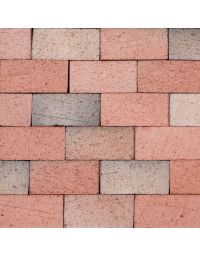
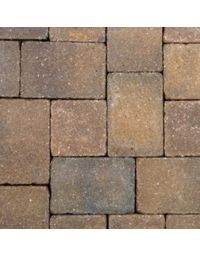
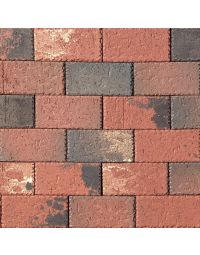
- Concrete & clay paver options from Anchor, Borgert, Interlock, Pine Hall, Rochester Concrete, and Silver Creek. These are all on display.
- Consider if you would like accent or border pieces either inlayed or surrounding your patio.
A good rule of thumb is to take cues from the style of your home as well as siding and trim colors when deciding which style and color paving material to go with.
Base Preparation:
Outline the area of your patio with marking paint 4”-6” out from the edge of where you want your pavers to account for base material and edging.
Before you start digging, call your utility company (here in MN it is Gopher State One at 800.252.1166 or go online at gopherstateonecall.org). They will mark any underground utilities in the area.
The more time and effort put into preparing the base for your patio correctly, the better your patio will perform and the longer it will last.
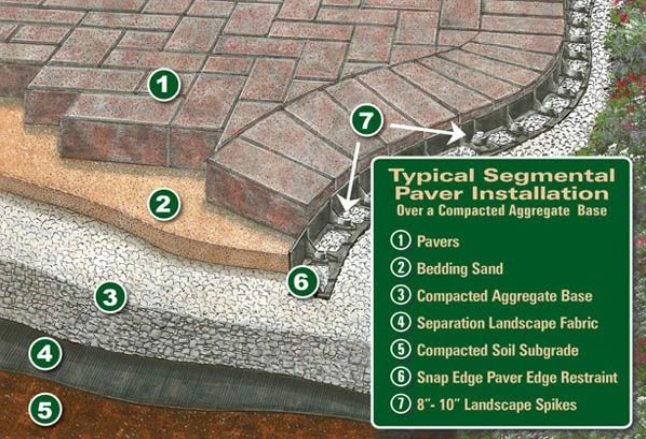
- Dig down 9 inches to account for the depth of your base materials and pavers.
- There will be a 6” depth layer of Class 5 gravel, 1” depth layer of washed sand, and 2.5” thick pavers.
- Make sure to account for drainage when excavating your base. You want all rainwater to run away from your house or any existing structures.
- There should be at least a 1/8”-1/4” drop for every linear foot away from the house.
- Once the area is excavated and rough graded, use a plate compactor to go over the entire area and make sure the ground is firm.
- If you choose to install geotextile fabric under your gravel, now is the time to lay it down.
- Spread a layer of Class 5 Gravel 2 inches deep over the entire surface using your flat shovel or a rake. If the gravel is completely dry and dusty, lightly spray it with your garden hose to cut down the dust and make it easier to spread with the rake.
- Go over the entire area with the plate compactor, making sure to overlap each pass by about 3 inches.
- Spread another 2 inches of gravel, and repeat until all the gravel is installed.
- Pull string lines over your base at the final surface elevation and slope of your patio. There should be a 3 inch gap between the top of the gravel and the string line.
- Check the base in this manner in at least 2 spots to make sure your gravel is level.
Continuing base preparation:
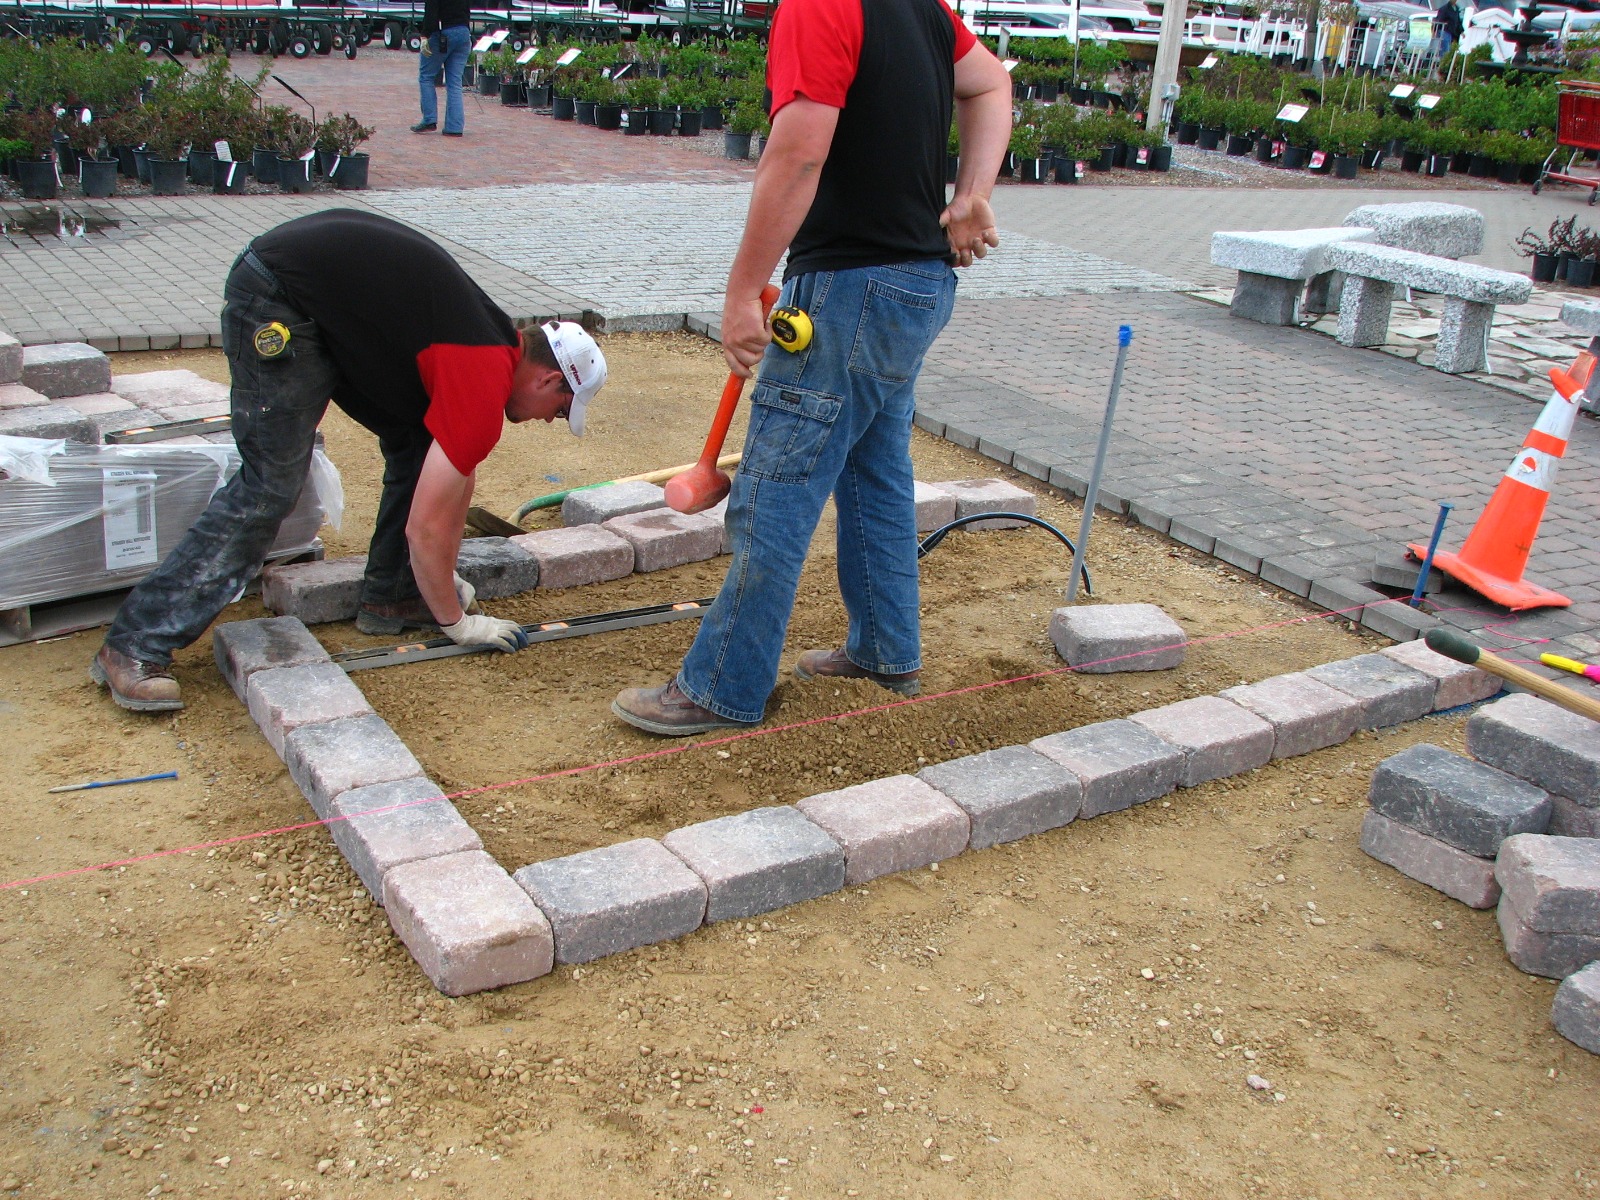
- Place edge restraints along all open edges (edges not against a curb, house, or other paving).
- Secure the edges in place with 10 inch timber spikes driven into the class 5 gravel every 2 feet at minimum.
- Edging for areas that are curved can be installed after the pavers are laid, but before final compaction.
Only spread and screed the sand once you are ready to start laying pavers or stone. Rain will ruin the screeding, and the sand can become a bathroom for any neighborhood animals. That does NOT make for a fun installation experience!
- Install the sand as you go to prevent walking on and disturbing the level sand as you lay the pavers, so make sure to start in a 90° corner if you can.
- To install the sand, place the 1” diameter PVC pipes several feet apart and parallel to each other directly on the class 5 gravel.
- Spread sand between the PVC pipes using your shovel and rake to loosely level it.
- Place the 2x4 timber on top of the pipes, and pull it across the surface several times until the sand is perfectly smooth.
- Remove the pipes, fill in the indentations with sand and level it with the trowel.
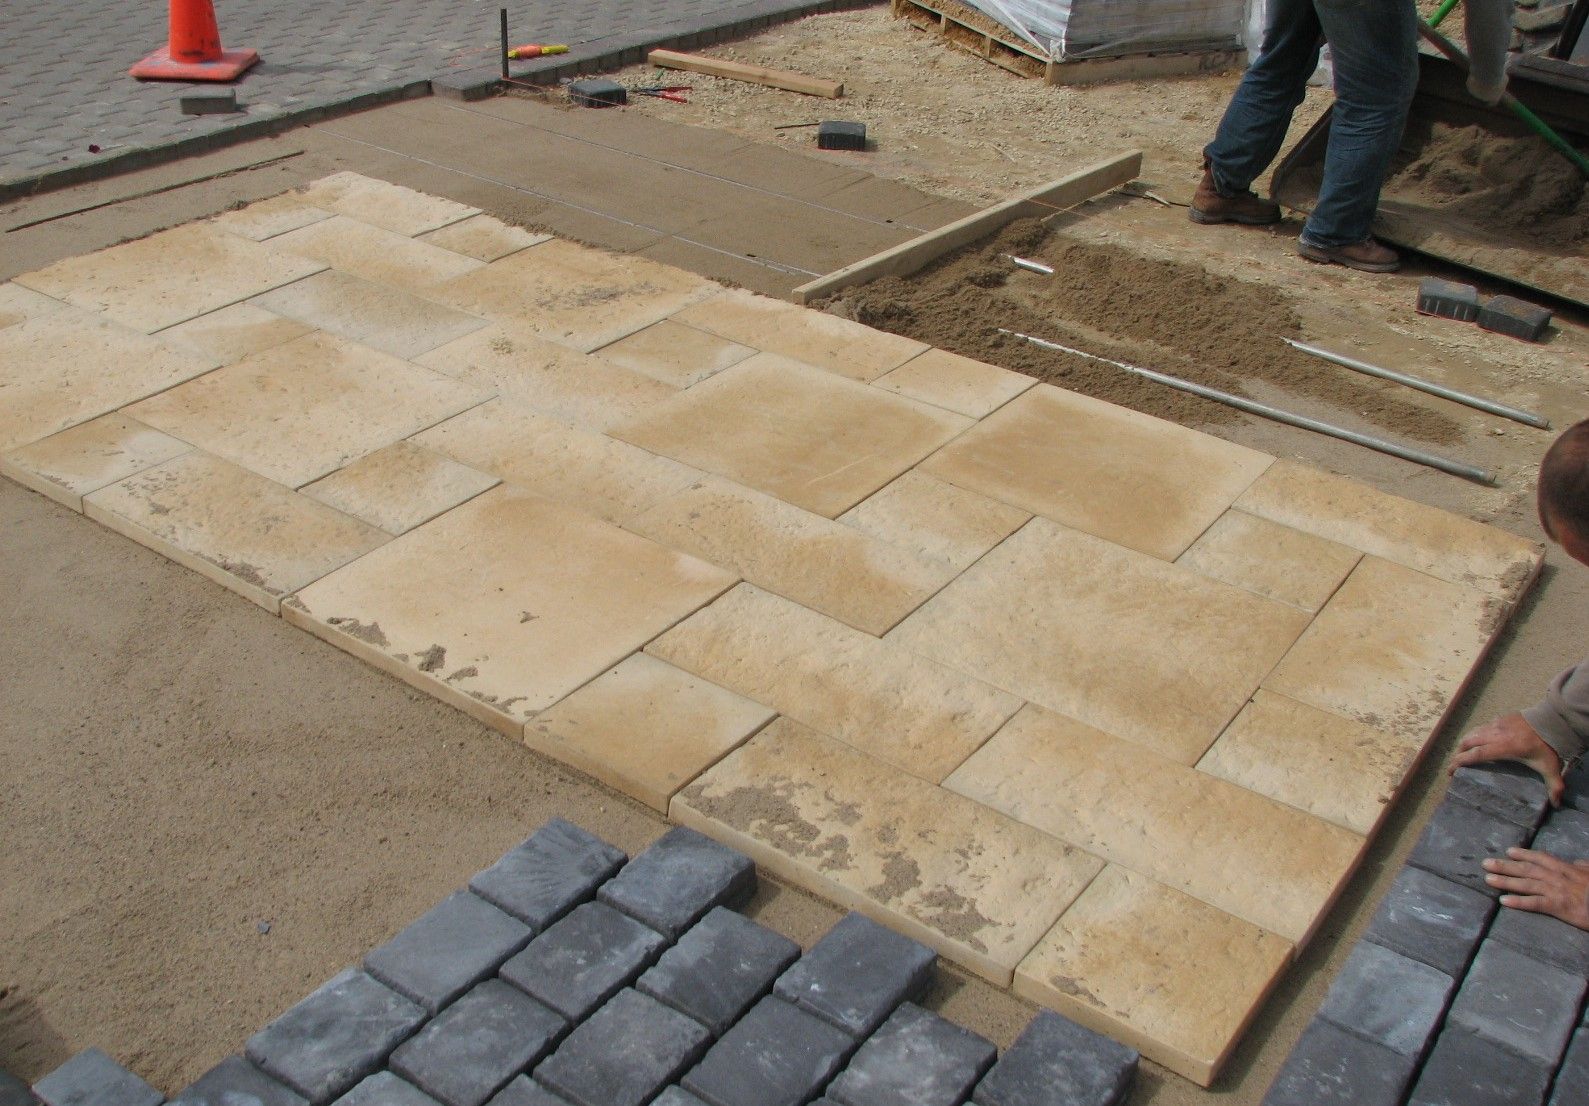
Laying Pavers or Stone:
- Start in a corner if you are able.
- Remove the string lines from checking your grade, and reposition them to be used to make sure your joint lines (the small gap between pavers) are straight.
- Set up the string lines about every 4’ or so to ensure your joints are straight across the entire patio.
- Work from right to left then left to right, one row of pavers at a time, installing any borders first.
- Set the pavers lightly into the sand, do not press or hammer in.
- Don’t walk or kneel on the pavers before they are vibrated in with the plate compactor or they may settle unevenly.
- Check the straightness of your joints against the string line regularly. Or just keep screeding the bedding sand, laying the pavers, and maintaining consistent joint widths.
- You will most likely need to make some cuts at some point. Have no fear, the masonry cutting saw may seem intimidating, but is very safe and easy to use.
- Place as many full size pieces up to the edge as possible, then hold the piece that needs to be cut in place, marking the portion that needs to be cut off with chalk.
- Put on your hearing and eye protection, and make your cuts.
- Once all the pavers are in place it is time to do the final compaction.
- Make sure not to scuff the surface of your pavers by placing cardboard, a carpet remnant, or a rubber mat between the compactor and the pavers.
- Adjust joints to be consistent as needed, and replace any pavers that may have cracked during compaction.
- Now it is time to fill the joints. You can either use the same washed sand as you used for the bedding sand, or choose to use Polymeric Joint Sand. Polymeric Sand has many advantages including inhibiting weed growth and ant hills in your paver joints. Follow the manufacturer’s instructions when installing Polymeric Sand.
Finishing Up and Aftercare:
- Bring in soil to backfill the area above your edging between your new patio and the existing lawn.
- Keep the soil about ½” below the patio to make sure to allow rainwater runoff.
- You can incorporate this area into a new planting bed, or seed or sod new lawn.
Depending on the look you’re going for, and the functions your patio will serve you may choose to seal your patio. Gertens offers many types of sealers from invisible, to color enhancing, to a glossy wet look.
Use a hardscape cleaner prior to sealing your patio. This will remove stains and ensure the sealer makes a good bond with the pavers.

That’s it! Now sit back, relax, and invite some friends over so you can show off your new outdoor space!
As a side note, if you are planning to use ice melt products on your paved area in the winter, make sure to use 100% Magnesium Chloride such as Freezgard. This will melt the ice but not damage your pavers. It’s safe for your lawn & landscape, pet’s feet, and won’t track in the house!
The experts at Gertens are always available to answer your questions!