When thinking about purchasing a tree, people often picture a tree with its roots balled up and wrapped up in burlap. This “balled and burlapped” (B&B) option is typically reserved for larger trees that require professional installation due to their size and weight. For the do-it-yourselfer, a great option is buying potted trees or “containerized” trees. There are subtle differences in planting a potted tree.
Potted trees are grown in a “soil-less” potting mix which drains well but also holds moisture. It also makes handling the tree easier because it’s lighter than soil. The container makes handling and transporting the tree easier while protecting the roots. When moving your tree always handle it by grabbing the pot, do not drag the tree by the trunk or lift it from the branches.
Potted trees come in a variety of container sizes:
- The largest container you’ll typically see is a #25 and that means it’s a 25 gallon pot.
- From there they step down by 5 gallons (#20, #15, #10).
- You’ll also find smaller trees and shrubs in #3, #5 and #7 containers.
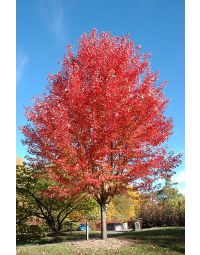
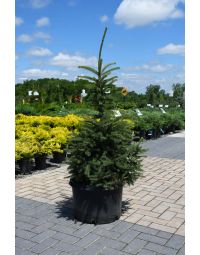
The bigger the pot, the bigger the tree will be at the time of purchase, but the trunk size or the overall height of the tree will vary by species. For example, an Autumn Blaze Maple in a #20 pot will run about 10 feet tall with a trunk measuring about one and a half inches in diameter, while a Black Hills Spruce in a #20 pot will stand about 4-5 feet tall.
Digging the proper sized hole:
- Find the “root flare” of the tree, this is where the trunk is connected to the roots. In the container, it can be anywhere from just above the soil line (perfect) to several inches deep.
- It is imperative that you find the depth of the root flare before you ever dig your hole, as that depth is directly related to the depth of the hole that you will need to dig.
- Remove your tree from the container and use a shovel or trowel to gently remove the excess soil to expose the root flare.
- Once you find the depth of the root flare, measure from the bottom of the root ball to the top of that root flare.
- This is the depth that you should dig your hole, or perhaps even 1 or 2 inches shallower, but do not dig any deeper.
- You want the bottom of the hole to be undisturbed, so that the tree does not settle after planting.
The planting hole should be wider than the root ball with enough room to work comfortably – approximately 2 times the width of the root ball.
Planting your potted tree:
- As you plant in a heavier soil than the potting mix your tree has been growing in you need to “wean” the trees from their pots into that surrounding soil.
- Amend the planting soil with some sort of organic matter.
- Amendments include your own compost.
- Another option is to use 1/3 peat moss or mushroom compost to 2/3 of your original soil.
- You are amending the soil, not replacing it.
- Mix the organic matter into soil, don't layer it.
- Use a tarp or wheelbarrow for mixing. Have it ready for backfilling.
- The goal is a nice loose, fluffy mix to use when you put it back in around the root ball. No chunks of soil.
- Roots can't take hold well when there are lots of air pockets. Having a loose mix will ensure good soil contact and healthy roots.
Getting the tree in the ground:
- Double check the depth one more time to confirm your soil has been properly blended and ready to go.
- Set the tree in the bottom of the hole.
- Straighten and loosen any circling roots to prevent future girdling. Girdling roots will kill your tree by choking it.
Adding additives:
- Apply a layer of Green Loon® Tree & Shrub Mycorrhizal® to the walls of the hole and root ball so that new roots are in contact with the product. Or use a root stimulator.
- Add back a few inches of soil to help stabilize the root ball.
- Soak each additional layer of soil with water to ensure that the root ball is saturated, the surrounding soil is saturated and the soil that you are back filling with is saturated.
- It’s okay to have a wet, swampy mess at this time as it will push out any air pockets that might be in the soil and make sure that the soil settles well and makes good contact with the root ball.
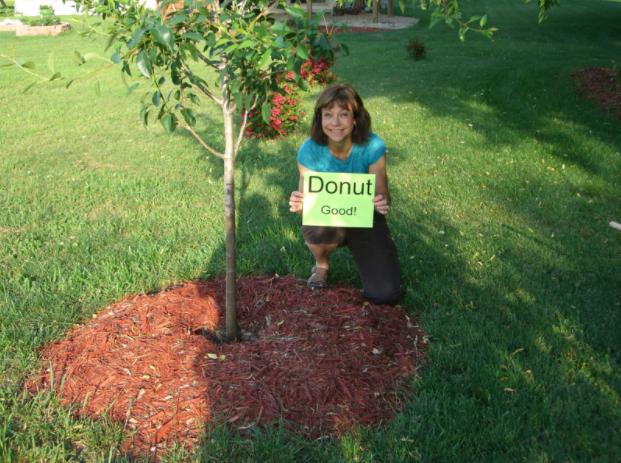
- After filling the hole to the root flare, top it off with a 2-3” deep ring of mulch.
- Mulch will help to keep the weeds and grass away from the trunk of the tree, and help to retain the moisture.
- Do not allow the mulch to touch the trunk of the tree. Your mulch ring should end up the shape of a doughnut not a volcano.
Stake the tree only if it is absolutely necessary, keeping the support low on the trunk to allow the tree to bend in the wind. This will ensure that the tree will remain strong as it grows.
Place mulch out to the canopy of the tree
Follow-up watering:
- Different soils, weather, trees, etc, prevent us from giving a specific answer on how much to water.
- Our recommendation is to water absolutely thoroughly, let the soil dry out slightly and then thoroughly water again.
- Water about every 5-7 days as your tree establishes its roots.
- There are exceptions, for instance, birch (really thirsty) may need more, but ALWAYS check the moisture in the soil before watering!
- If the soil is moist, wait to water and check again the next day.
- Over watering is the number one reason that trees fail in the first year. Once a tree’s roots begin to rot from too much water, it’s unlikely they’ll recover.
- If the soil is wet and the leaves are wilting, it is likely that the tree has been over watered and needs to be allowed to dry out.
- Check your soil often, every 2-3 days and water when it becomes dry a few inches down. Use your hands and eyes to check the moisture.
- Under-watering can usually be corrected if caught quick enough.
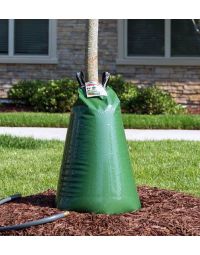
- Watering bags have proven to be a valuable tool. They hold 15-20 gallons. Any excess runs off and it is impossible to over water if used properly.
- These bags allow water to be applied slowly to the root zone, letting it soak in completely over the course of a few hours.
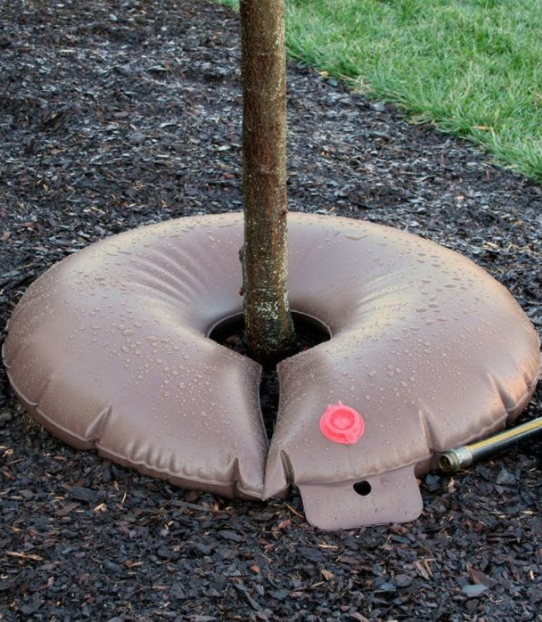
Treegator Jr. Pro
The experts at Gertens are always available to answer your questions!